 (First appeared in the May 2018 issue of The Equiery)
With the competition season in full swing and the weather turning a little warmer, more Maryland equestrians will be hitching up their rigs, loading up their horses and hitting the roads. Trailer drivers must be responsible for the safety of their rigs in order to protect their horses, themselves, and others on the road. Below is a list of helpful tips for basic trailer safety from the Maryland Agricultural Resource Council.
The Maryland Agricultural Resource Council is based out of a living agricultural park on Shawan Road in Cockeysville. The nearly 150-acre farm offers equestrian and hiking trails as well as educational programs and research projects. One popular educational program is MARC’s annual Horse Trailer Safety Course, taught by volunteer Bill Minor.
The class has classroom and driving components. Minor, who has taught trailer safety classes to pony clubs in the area for decades, has created a curriculum that covers everything from tire pressure, to different types of trailers, to backing and turning a rig around. “The classroom part typically lasts about one and a half hours and includes lots of photos of good trailer safety examples and not so good ones too,” Minor said.
Participants can choose to bring their own rigs for a safety check, and then to navigate a course at the farm. “We teach them how to back up with spotters and without, and how to turn around safely,” Minor explained. The driving part of the class can take up to two hours depending on the number of participants.
Hitching a Bumper Pull or Gooseneck Trailer
• Routinely check for any signs of rust on the hitch both on the trailer and vehicle frame.
• Before hitching check the ball size of the hitch to make sure it is the correct size for the trailer.
• Check to make sure the hitch is secure to the tow vehicle and not loose in any way.
• After hitching, check to make sure the ball is firmly seated into the hitch.
• Check that the clevis pin (safety pin) is in place.
• Make sure the jack is in the upright position and secured properly.
Tires
• Cold weather typically affects tire pressure. Inspect both the vehicle and trailer tires to make sure they are at the correct pressure before every road trip.
• UV rays of the sun deteriorate tires, so they should be inspected for any signs of dry rot. If you see any cracks on the tread or side walls, replace your tires.
• To check the wear and tear of your tires, take a penny and insert the coin (with Lincoln’s head pointing toward the tire) into the tread. If the tread does not come up to Lincoln’s head on the penny (typically 3/32 inches in depth), replace the tires.
• Check to see that your tires are wearing evenly. If they are not, check your axle to make sure it is not bent.
• Wheel bearings need to be packed with grease. You can do this on your own with a buddy bearing cap or by a mechanic.
• Be sure to check the spare tire on the vehicle and trailer too.
• Practice changing a tire on both your vehicle and trailer.
Trailer Electrical System
• Check all trailer lights, including tail, brake, side markers and turn signals.
• Check that the electrical plug is secure.
• Check for any evidence of frayed or torn wires.
• Once you connect the trailer’s electrical plug to your vehicle, check to make sure the electronic brake control lights up.
• To check if the back up battery is operating properly, pull the cable out of its socket and see if the brakes engage. You should hear a click or hum when the back up battery cable is pulled out. You can try to move the trailer while the cable is pulled out, the wheels of the trailer should lock.
• Check that the electronic brake controller is set for the proper weight load. Most controllers have a dial or slide switch on the side of the controller. The heavier the load, the higher the setting should be.
• Be careful not to set the brake controller too high, or the trailer tires will start to skid. At the proper setting, you should feel the trailer braking slightly in unison with the truck brakes.
• Note: if you find yourself sliding or jack-knifing on wet or icy roads and have an electronic brake unit, do not step down on the truck brakes. Instead use your finger to gently slide the bar higher to straighten the trailer behind you.
Safety Check for Hydraulic Brakes
Some trailers have non-electric brakes called hydraulic brakes. The tongue of the trailer has a master cylinder like a car. The inertia of the trailer actuates the master cylinder when you step on your truck brakes. This puts a large amount of pressure on the hydraulic hose which wears down over time. If you are looking for a repair service, you can find hydraulic hose repair in Sydney or somewhere more local to you.
Please note, on some of these systems, you must deactivate the braking system in order to back up.
Here are some safety checks for hydraulic brake systems:
• Check to see if there are any signs of brake fluid leaks around the master cylinder.
• Check to see if there are any signs of leakage in the brake lines that go to the trailer wheels.
• Check to see if there are any signs of brake fluid leakage on the inside of the wheels and/or tires.
• The actual brakes on the trailer axle should be checked regularly by a mechanic, especially if you hear any grinding or squeaking noise.
Trailer Condition
• In order to check the floor of your trailer, you may need to pull up the matting. Use a knife or screwdriver to poke into the floor (both top and bottom). If the floor is made of wood boards, check for any signs of rotting. If aluminum, check for corrosion.
• The ramp usually has plywood beneath the matting. Over time the plywood can bend and rot. The outside of the ramp is usually made of metal or aluminum. If the wood under the mat is rotting, you will see dents in the outside panel.
• For an all metal trailer, check for rust on cross members of the undercarriage. Check the frame where the axles attach to the frame to make sure the attachments are secure.
• For a trailer with an aluminum shell over a metal frame, check for any corrosion at the mounting points beneath the trailer. At the factory, the aluminum and metal are insulated from one another to prevent electrolysis. Over time, this treatment deteriorates and the aluminum can come off the metal frame.
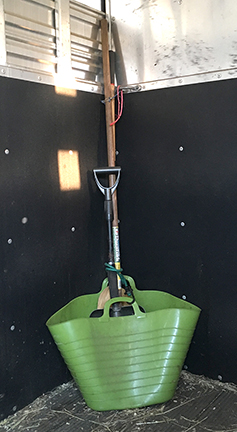
Tip: Keep trailer clutter to a minimum. If you have a tack room, place all equipment in the tack room securely. If you do not have a tack room, make sure that any pitchforks, rakes, buckets, etc., are secured and do not become loose during travel.
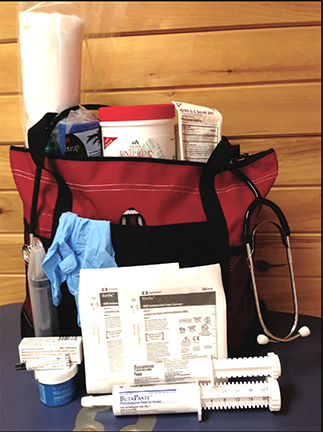
Tip: When traveling with your horse, don’t forget to pack a travel first aid kit! Many veterinarian practices have kits already stocked for sale. If you are putting your own kit together, Megan Snyder, VMD, says, “Must haves would be a stethoscope, thermometer, banamine and bandage materials.” Dr. Snyder also recommends keeping a list of veterinarians in the area you are traveling through or local referral hospitals.
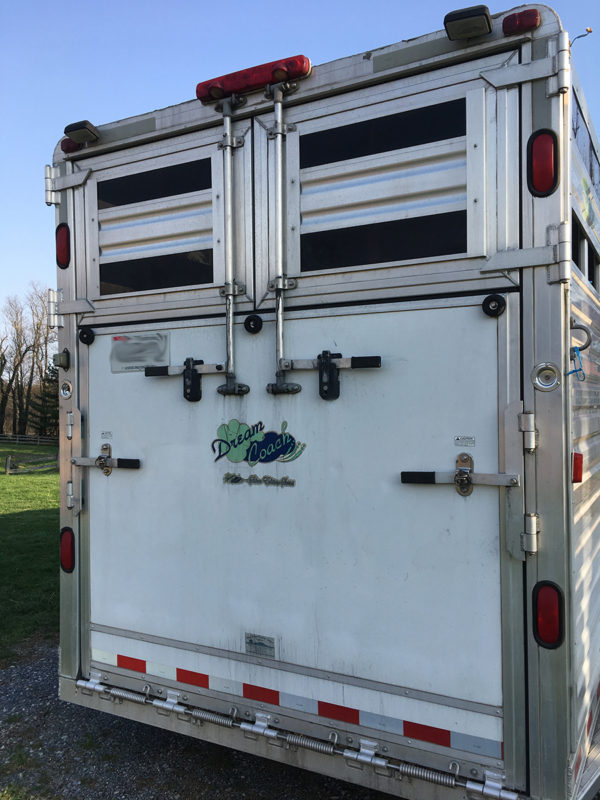
Tip: When the trailer is not in use, keep all doors and windows closed. This keeps out rain and snow, and increases the life of the trailer.
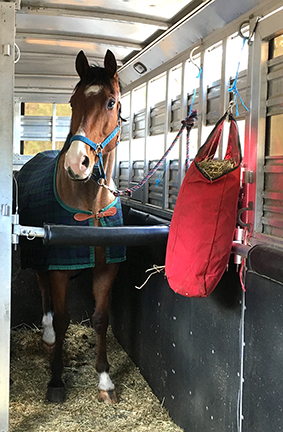
Tip: Hay nets/bags should be secure and high enough not to allow horses/ponies to become entangled.
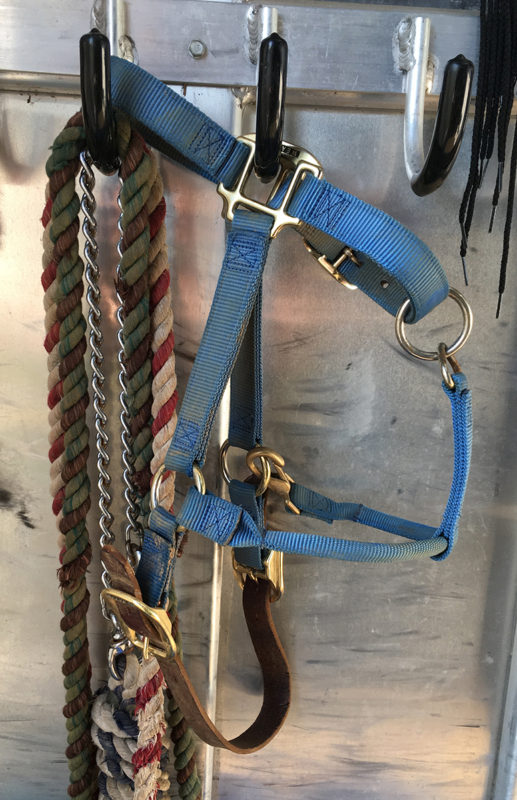
Tip: Keep spare halters and lead shanks in your trailer.
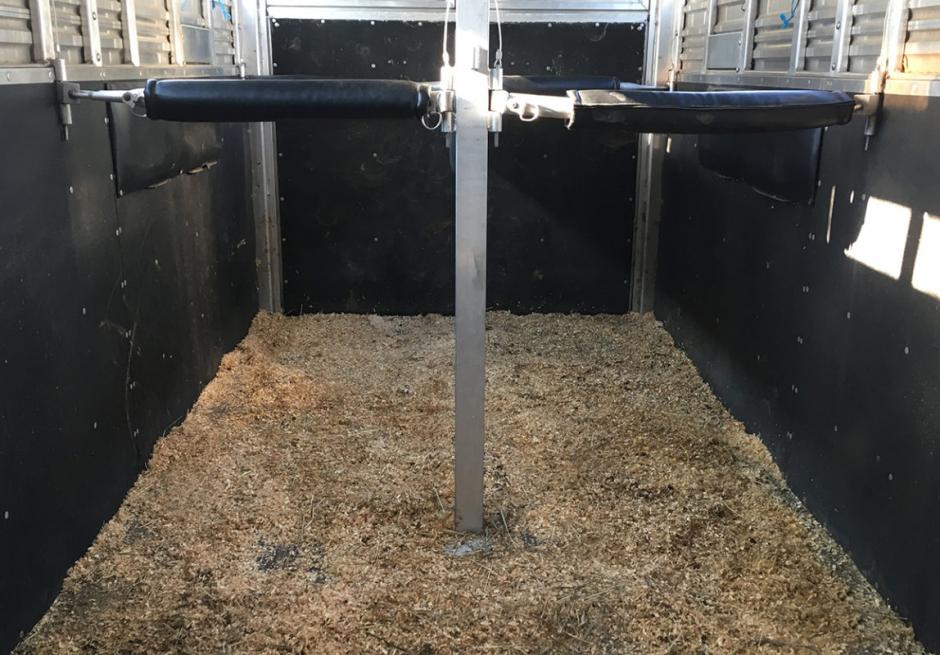
Tip: Remove manure and urine after every use, and keep the interior of the trailer clean.


